The three hour skirt
Okay so I didn't get back to blog "tomorrow" but things happen around here! There's orders and sales and Bob's birthday and Oooh shiney!...wait where was I? Oh yes the skirt.
So I thought it would be fun to share my testing of this new skirt pattern (Coming to a website near you!) Now unlike all you lucky people who will get historical instructions, a picture, instructions and a description. I got a pattern peice. Just a pattern piece (in fairness to Kass that was all she had finished)
I nabbed some very yummy hunter green wool from Kass' secret stash and began laying it out. I find the number of darts a little confusing so I like to cheat and use a high lighter to follow MY LINE. I could tell you what size it is, but it's for Kass and then she'd kill me...

I layed the pattern over my pattern and carefully traced around it with my super expensive fancy tailors pencil (Yellow Crayola Colored Pencil...I have been known to use any light color) and carefully cut it out. Kass is taller than the average woman so I added 4 extra inches to the bottom so that we could hem it to floor length on her. I cut four panels 2 front and 2 back. I knew it had a Center Front seam.
 Like my pattern weights?
The first thing I did was sew my darts in. Remember when you sew darts you want to always sew from the wide end to the narrow end and don't back stitch at the end. You sew off the edge and tie a knot in the tails that remain. It keeps you from getting a bulky point.
I decided I wanted to french my seams because I wasn't going to line it and I think it just looks sharp. So I thought we could do a little review for those who don't know how to do french seams.
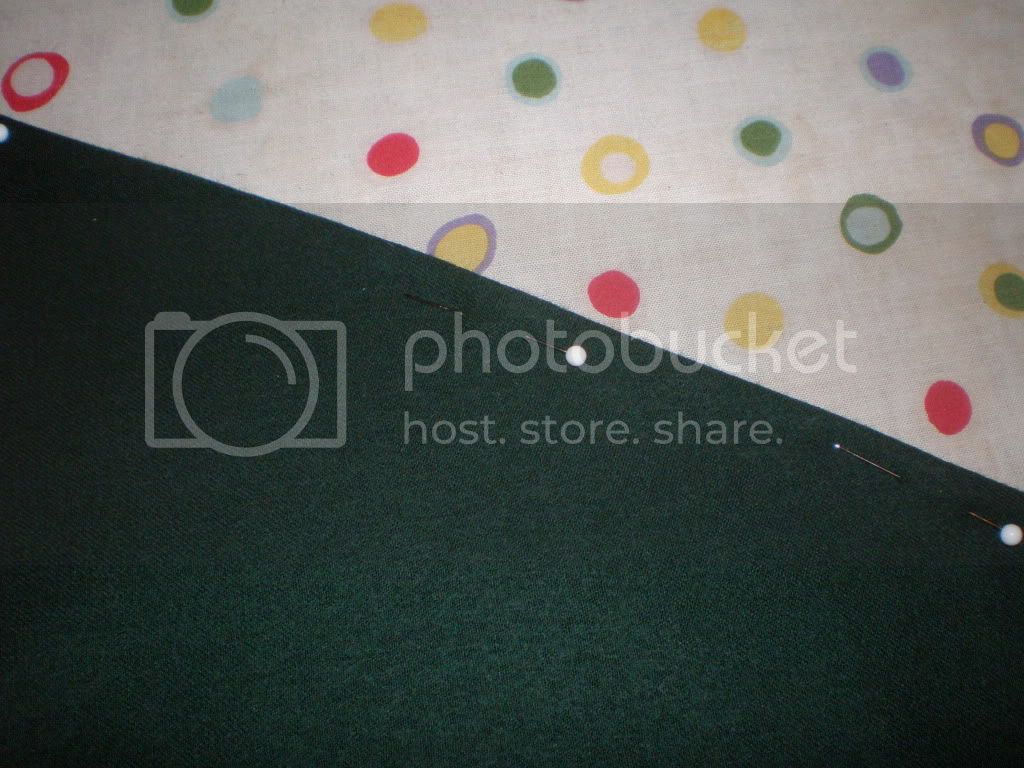
Step 1. Sew a normal seam WRONG sides together (yes that is inside out)
Step 2. Press your seam open then to one side. Trim the seam allowance to a narrow 1/8"
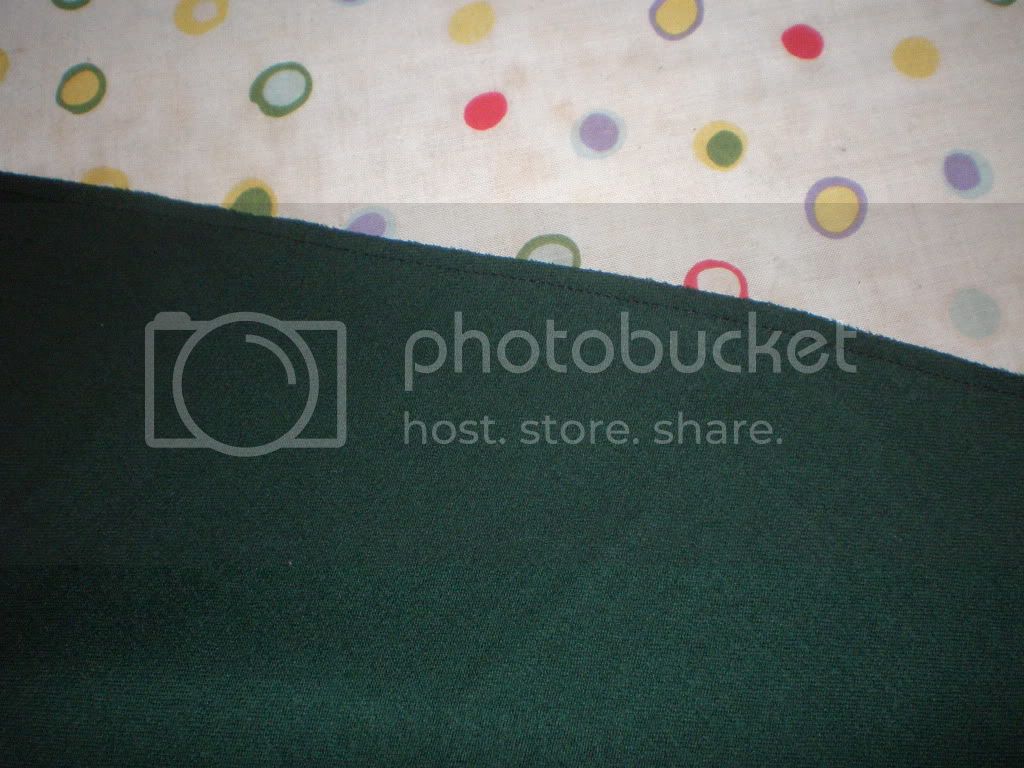
Step 3. Turn your seam right side in. wrap the new seam around the pervious seam
The seam allowance from your first seam is now neatly contained as seen in the image at left.
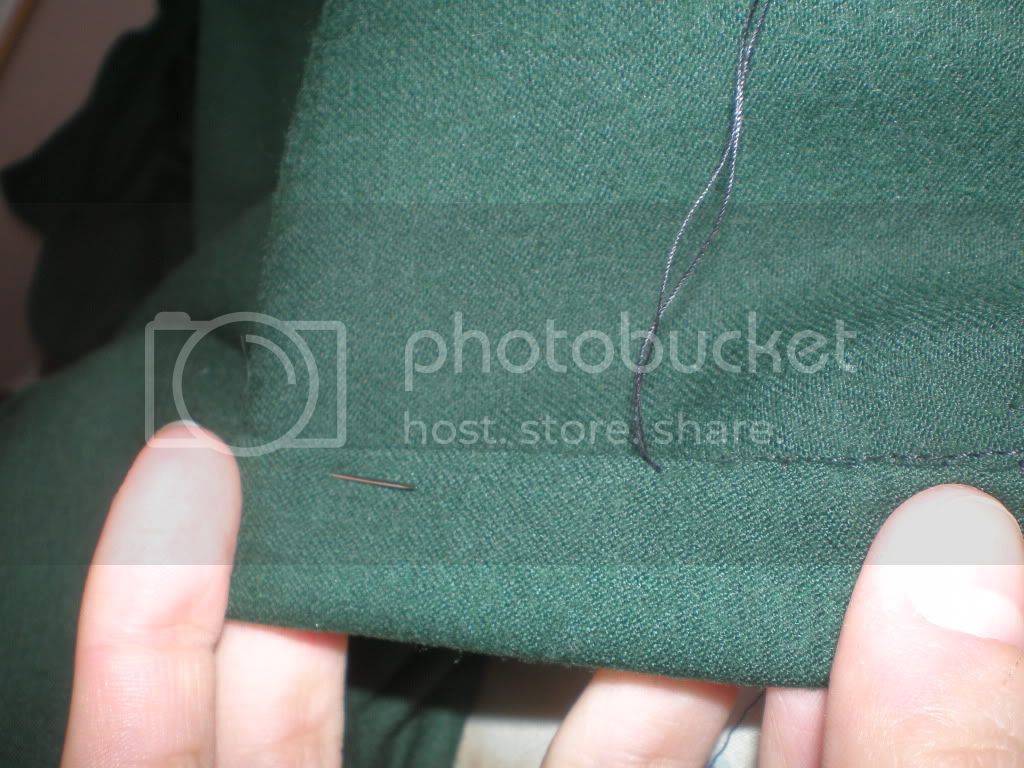
Step 4. Sew your final seam 1/4" from the edge.
Finished Seam from the INSIDE
I did this for all my seams. Then realized Crap it would have been much easier to put the placket in FIRST. Oops. Oh well. Here's the quick and dirty on how to put in a placket
Step 1. Mark where your slit is going to go. I made mine 6 inches. It seemed like a nice even number. Cut the placket piece, it needs to be twice as long as your placket. I usually just cut mine with a lot of extra. Press 1/2" over on one edge


Step 2. Cut the slit. Take the left edge of the slit start pinning it to the unfolded side of the placket peice right sides together. When you get to the botton of the slit carefully stretch the slit open and pin the other side along the placket as well. Sew together. You want to sew as close to the center point as possible. you only want to catch as little as possible.

Step 3. Iron the seam towards the placket piece. Wrap the placket around the seam allowance so the folded edge just hits the sewing line. Pin in place

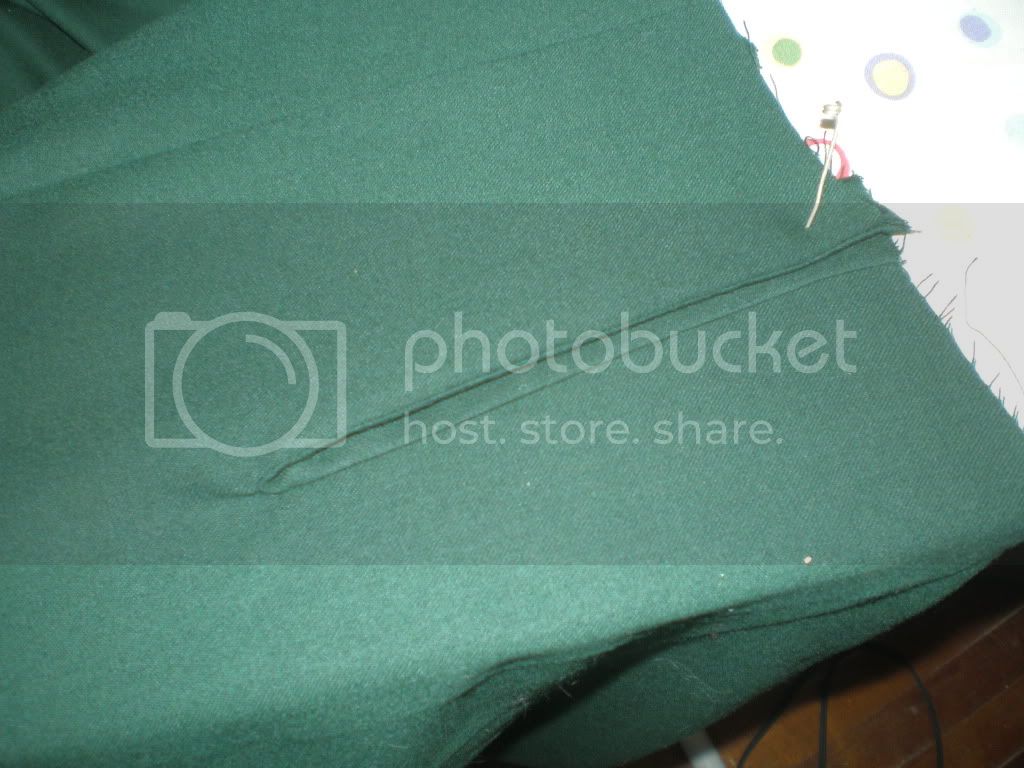
Slip stitch in place.
VOILA A finished Placket!
It was at this point when trying to set the waistband I realized that I had WAY too much fabric and it's not gathered in the picture...In fact I was supposed to have 30" of fabric and I had 60"...and then...it dawned on me *cue dramatic music*
SHITE!!! IT's ONLY TWO PANELS NOT FOUR! AND I FRENCHED MY SEAMS!!!!
at this point I threw the damn skirt into the naughty corner and went out of my sewing room in a huff to discover my fiance hiding under a desk debating going in to see if I was dead or if hiding was a better option.
The next morning I studiously unpicked my center front and center back seams and resewed them so I now had Two mostly finished skirts.
Coming next time...Finished Pictures (As soon as I can get Kass to hold still long enough to try it on)